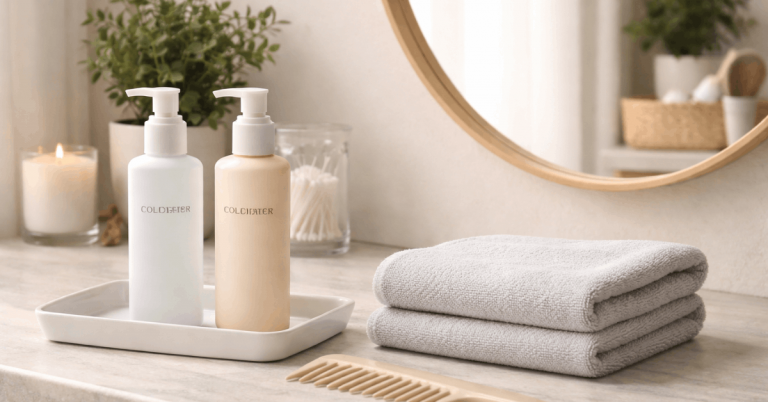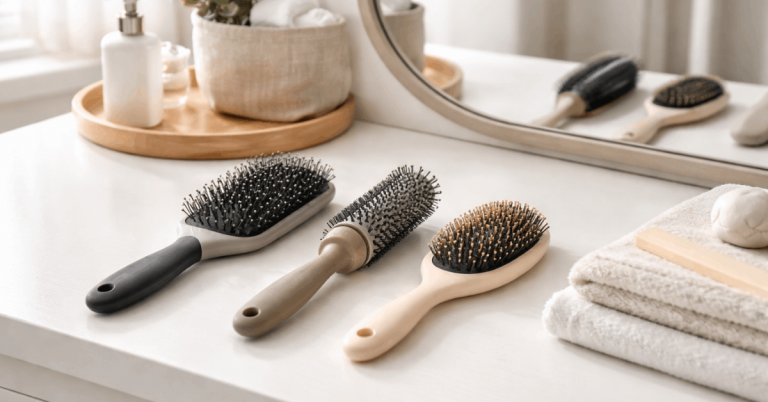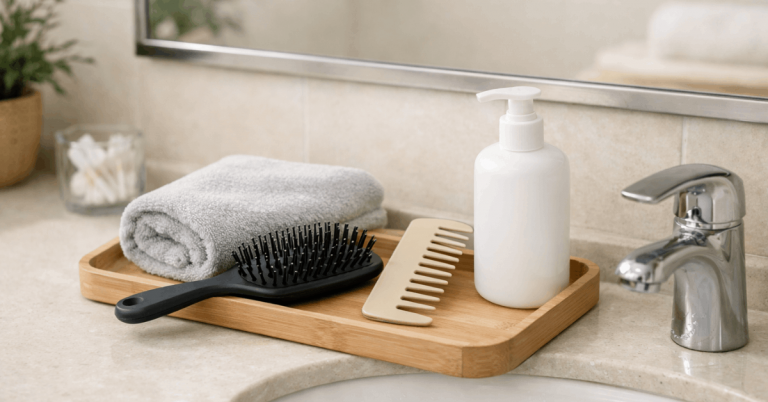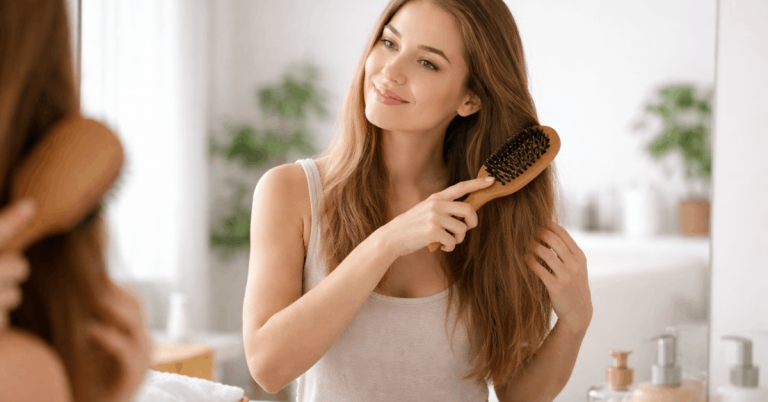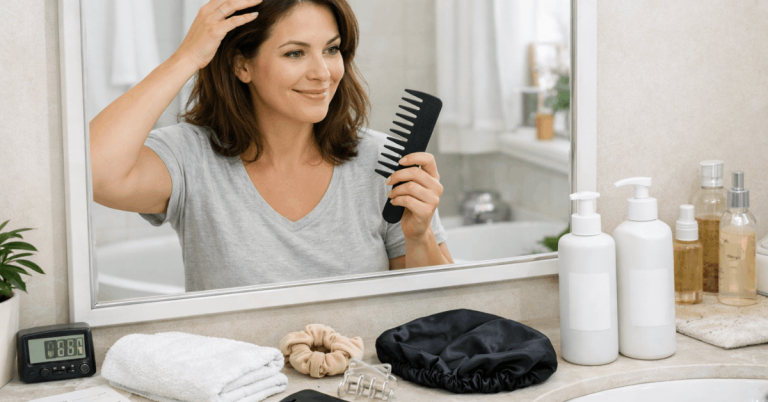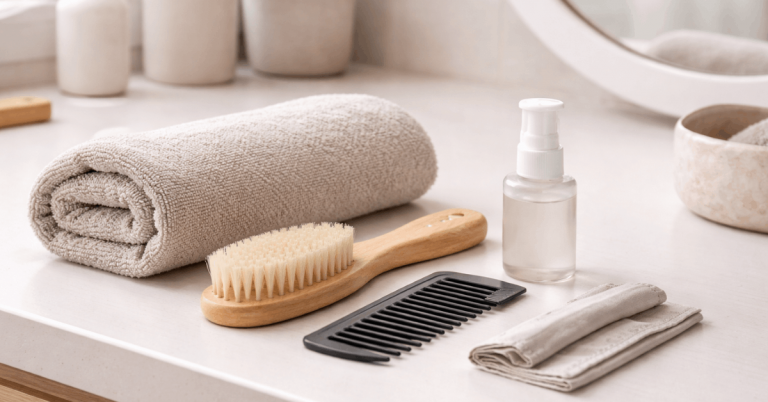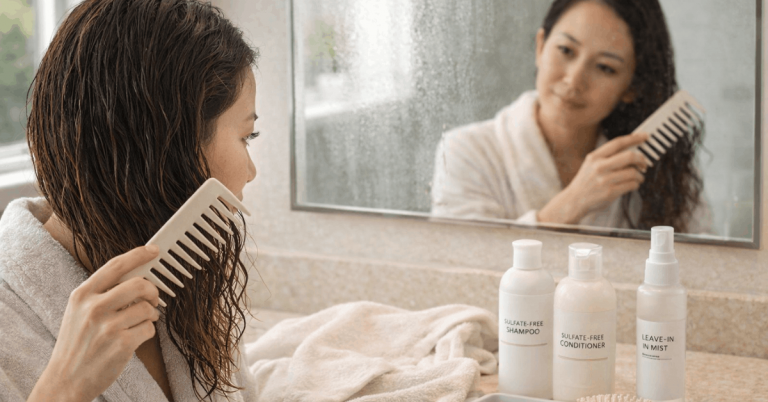
Freshly washed hair that goes flat by noon is frustrating. And the culprit might be sitting on your bathroom counter right now: a dirty hairbrush.
Old oil, dead skin, and dried-up styling products collect on bristles between washes. Every stroke pushes that gunk straight back onto clean hair.
Learning how to clean hairbrushes correctly takes about five minutes. The payoff is hair that stays fresher and a scalp that feels lighter between wash days.
But cleaning frequency? That part gets overcomplicated. Let me break down what works and what’s a waste of time.
How Often Should I Clean My Hairbrush?
Almost every article about hairbrush cleaning throws out the same rule: once a week. I think that advice causes more harm than good for anyone using a natural boar bristle brush, because unnecessary water exposure breaks down those bristles faster than buildup ever would.
The right cleaning schedule depends on three things: how often the brush touches product-heavy hair, how oily the scalp runs, and the brush material itself.
Cleaning Schedule Based on Hair Type and Usage
A daily brusher who uses heat protectant, dry shampoo, and hairspray needs to clean their brush far more often than someone who air-dries and skips products entirely. That difference matters.
Here’s a smarter way to think about it:
- Heavy product users (daily styling sprays, gels, or creams): clean the brush after every 3 to 4 uses, since dried product hardens on bristles quickly
- Oily scalps with daily brushing: once a week keeps oil transfer under control
- Low-product, dry hair types: every 2 weeks or when visible residue appears on the bristle base
- Post-illness or scalp condition flare-up: clean immediately and consider replacing the brush if symptoms were bacterial
Visible buildup is a better trigger than any calendar reminder. The bristle base tells the story. If it looks grey or feels sticky, the brush needs cleaning regardless of when the last wash happened.
Why Visible Buildup Beats a Weekly Schedule
I would skip the weekly schedule entirely for anyone using a wooden brush or boar bristle brush based on how poorly those materials handle repeated soaking. Plastic and nylon brushes tolerate water well. Natural materials do not.
The grey lint at the base of bristles is a mix of dead skin cells, sebum, dust, and hair product residue. Once that layer forms, every brush stroke redeposits it onto clean hair. That buildup, not a date on the calendar, should drive the cleaning decision.
Step-by-Step: How to Clean Hairbrushes Properly
The cleaning process is simple, but the order matters. Skipping the first step or soaking too long are the two mistakes that ruin brushes faster than the dirt itself.
Remove Trapped Hair First
Pull out all loose hair using fingers or a wide-tooth comb. Trapped hair holds oil and dust against the bristle base, so washing a brush without removing hair first just moves debris around instead of removing it.
A clean chopstick or pen works well for stubborn tangles wrapped around the base. Slide it under the hair layer and lift up.
Wash the Bristles Gently
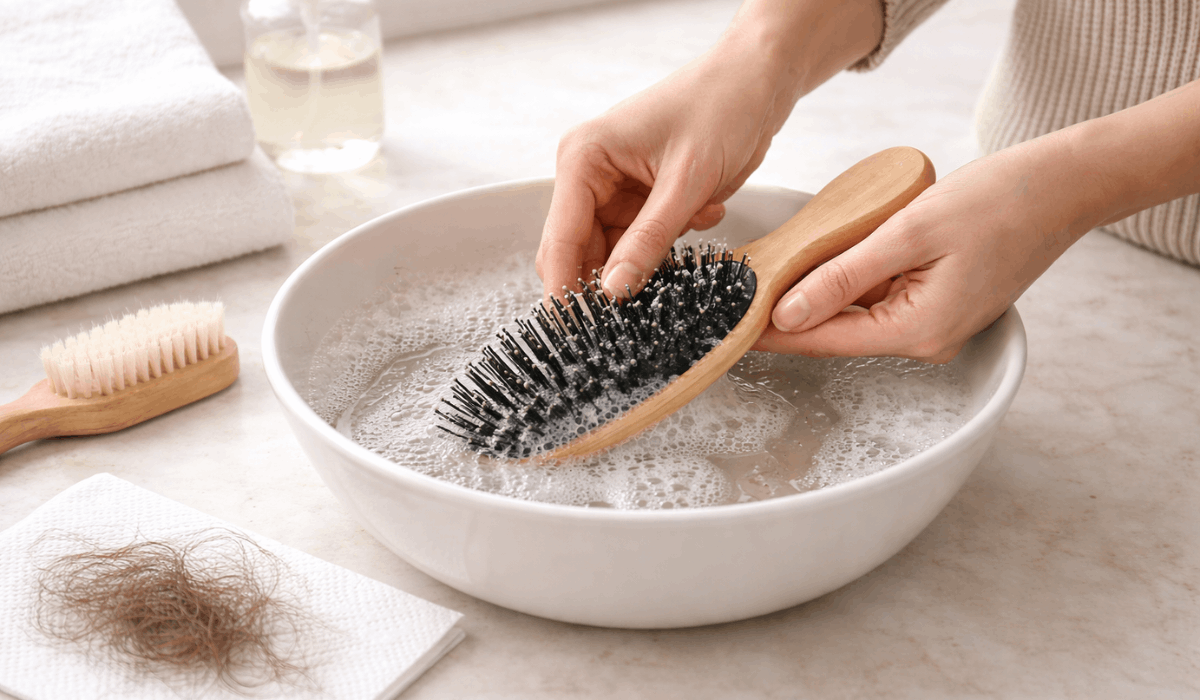
Fill a small bowl with warm water and add a drop of mild shampoo or gentle dish soap. Swirl the bristle end in the water, then use fingertips to rub between the bristles. Focus on the base where residue collects.
One thing that never gets mentioned: the water should be warm, not hot. Hot water warps plastic brush heads and can crack wooden handles. Warm water loosens oil just as well without the damage risk.
Rinse and Dry the Right Way
Rinse under running water until the soap is completely gone. Leftover shampoo residue on bristles creates the same problem as leftover hair product.
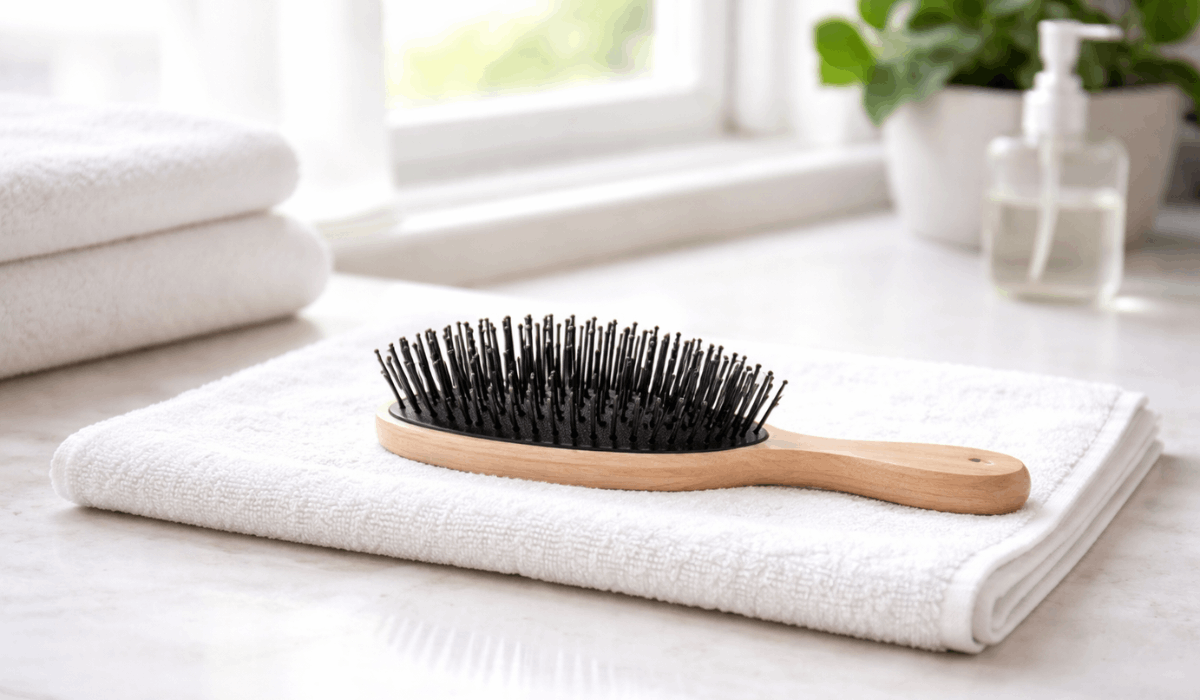
Place the brush bristle-side down on a clean towel and let it air-dry completely. This is the step people get wrong. Laying a brush flat traps water in the cushion base, and using a hair dryer warps the bristle shape. Gravity plus airflow does the job better than heat ever will.
Cleaning Hairbrushes by Brush Type
Not every brush can handle the same cleaning method. The material dictates how much water is safe and how long the brush can stay wet.
| Brush Type | Water Contact | Soaking | Drying Method |
|---|---|---|---|
| Plastic/nylon | Full submersion safe | Brief soak (5-10 min) | Air-dry bristle-side down |
| Wooden handle | Damp cloth only | Never soak | Pat dry, store upright |
| Boar bristle | Quick rinse only | Never soak | Air-dry on towel, bristle-side down |
| Paddle/cushion | Bristles only | Never submerge base | Air-dry with cushion facing up |
The takeaway: plastic brushes are the easiest to clean, while natural and cushioned brushes need careful water management to avoid structural damage.
Wooden Hairbrushes Need Extra Care
Water seeps into wood grain and loosens the glue holding bristles in place. A damp cloth wiped along the bristles and base is the safest cleaning method. Avoid submerging a wooden brush, even briefly.
If the wood starts to smell musty, that indicates moisture damage. A light wipe with diluted white vinegar on a cloth can help, but a persistent odor usually means the brush needs replacing.
Boar Bristle Brushes Are Worth the Extra Effort
Boar bristle brushes pick up more oil than synthetic bristles, which is exactly their purpose. That same oil-absorbing quality means they get dirtier faster.
Cleaning them requires a light touch: a quick pass through warm soapy water, gentle finger scrubbing at the base, and immediate towel drying. No soaking. No heat. The bristles lose their firmness when waterlogged, and they don’t always bounce back.
Also read: How to Extend the Life of Beauty Tools
Common Hairbrush Cleaning Mistakes
Some cleaning habits do more damage than the dirt they’re trying to remove. These are the ones worth watching for:
- Soaking brushes overnight: prolonged water weakens adhesives and softens cushion pads, especially on paddle brushes
- Using harsh detergents or bleach: strong chemicals strip the finish on handles and degrade bristle flexibility
- Blow-drying after washing: direct heat warps plastic bristles and cracks wooden components
- Scrubbing bristles aggressively: bending bristles out of alignment reduces their ability to detangle hair evenly
The gentler the cleaning, the longer the brush lasts. A brush that gets scrubbed hard every week will wear out faster than one that gets a soft wash every two weeks.
How Product Buildup Changes the Way Brushes Work
Dried styling products create a coating on bristles that changes how the brush grips and moves through hair. Hairspray and gel harden into a film. Oils and leave-in conditioners leave a slick residue that picks up dust.
A coated bristle slides instead of gripping. Styling becomes uneven because the brush can’t hold sections properly. And the stickier the residue, the faster it attracts bathroom dust and airborne particles, creating a cycle that makes brushes dirty faster between cleanings.
This is why I think the drying step matters more than the washing step for long-term brush performance. A brush that air-dries completely between uses accumulates less residue than one stored in a humid drawer while still damp from the last cleaning.
When to Replace a Hairbrush Instead of Cleaning It
Some brushes reach a point where no amount of cleaning restores them. The American Academy of Dermatology recommends replacing brushes when bristles become damaged or deformed.
Signs a brush is past its useful life:
- Bristles stay bent after cleaning and drying, meaning they’ve permanently lost tension
- Persistent odor despite thorough washing, indicating trapped bacteria deep in the cushion
- Visible cracks or splits on the handle or bristle plate, which can scratch the scalp
- Cushion base feels soft or detached, reducing the brush’s ability to style evenly
A good rule: if the brush looks clean but still makes hair feel flat or greasy after a fresh wash, the bristles may have invisible residue buildup that soap can no longer reach. Time for a new one.
Simple Habits That Keep Hairbrushes Cleaner Between Washes
Small daily habits cut down on how often a deep clean is needed. These take seconds and save real effort later.
Pulling out loose hair after each use is the single most effective daily habit. Trapped hair holds oil and skin cells against the bristle base, accelerating buildup. A 10-second hair removal after brushing extends the time between full washes significantly.
Storing brushes in a dry, open area instead of a bathroom drawer also helps. Humid enclosed spaces encourage bacteria growth and cause residue to stay damp longer. The Cleveland Clinic recommends keeping personal grooming tools in dry environments to reduce bacterial contamination.
A dry cloth swipe across bristles once or twice a week removes surface dust before it bonds to oils. Quick and simple.
Questions People Ask About Cleaning Hairbrushes
Q: Can I clean my hairbrush with just water?
Water alone removes loose debris but won’t break down oil or dried product residue. Adding a small drop of mild shampoo makes a noticeable difference in how clean the bristles feel afterward.
Q: Does a dirty hairbrush cause dandruff?
A dirty brush can redistribute flakes and irritate a sensitive scalp, which may worsen existing dandruff. It won’t cause dandruff on its own, but it can make a flaky scalp harder to manage between washes.
Q: How long does a hairbrush last before needing replacement?
That depends on the material and how it’s maintained. A well-cleaned plastic brush can last several years, while boar bristle brushes may need replacing sooner if they’re exposed to too much water during cleaning.
Q: Is it safe to share hairbrushes?
Sharing transfers oil, dead skin, and bacteria between users. This raises the risk of scalp irritation, especially for people with sensitive skin or active scalp conditions.
Q: Can I soak a paddle brush to clean it?
Paddle brushes have a cushion base that traps water when submerged. Clean the bristles only, keeping the cushion and base dry to prevent mold growth inside the pad.
Conclusion
Cleaning a hairbrush properly takes less than five minutes and extends the life of the brush itself. The method matters less than the consistency of doing it at all.
Matching the cleaning schedule to visible buildup rather than a fixed timeline protects both brush and hair. Start checking the bristle base after every few uses and the routine builds itself.