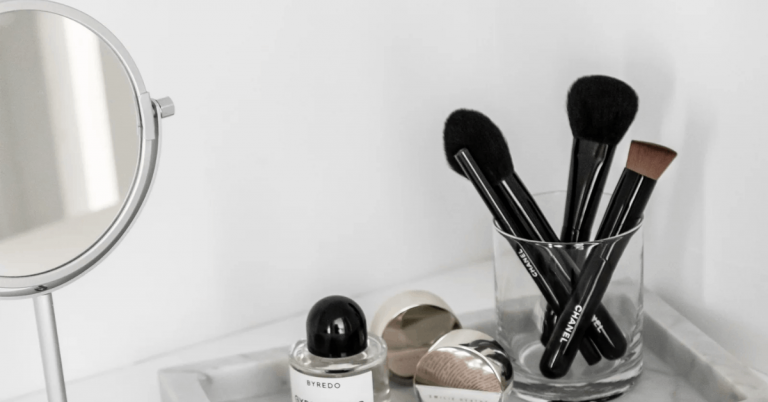
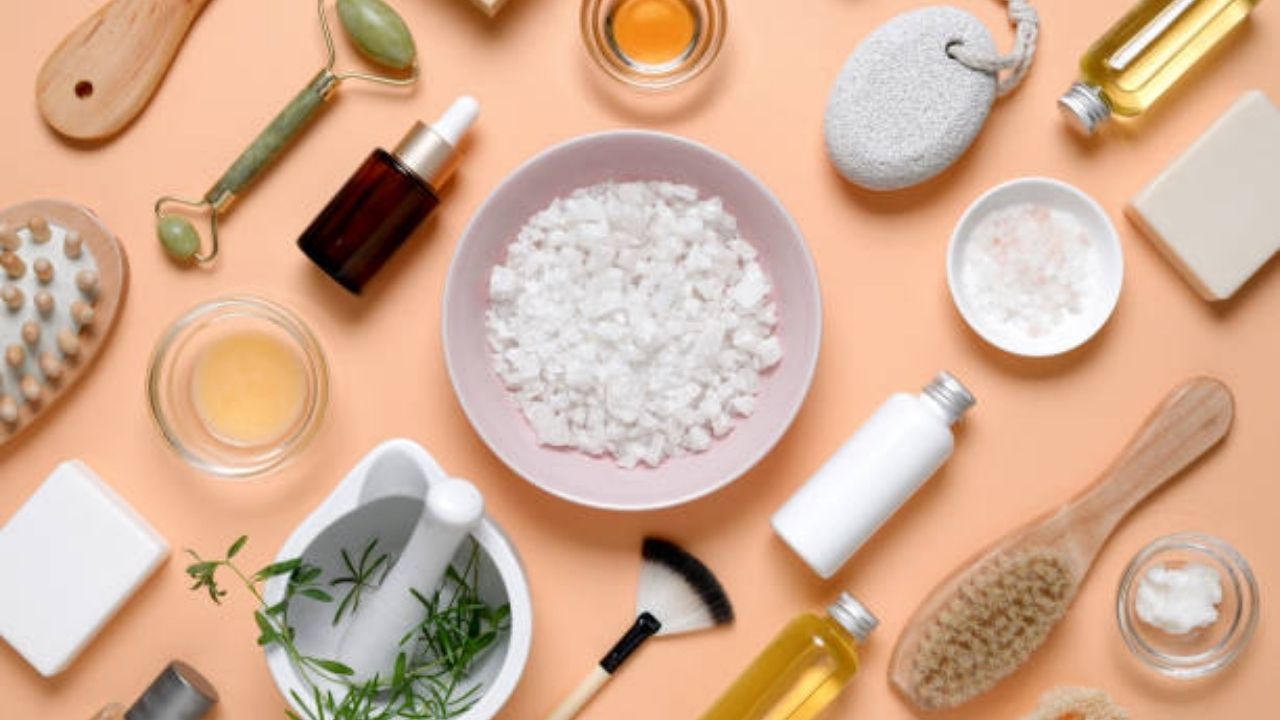
Good tools only work when they stay clean. Learning how to keep beauty tools clean and safe matters more than any new product launch. Every brush, sponge, and hair tool collects residue that harms skin and hair when ignored.
Buildup causes dull results and shortens tool lifespan. This guide explains a clear system so you can repeat it without confusion. It covers daily removal, washing, disinfection, drying, and storage.
Each step links to real brands and simple habits. Follow this structure to make tool care a calm, automatic part of your routine.
Why Tool Hygiene Changes Results And Skin Comfort
Clean tools give smoother makeup, shinier hair, and better skin response. Dirty ones spread oil, bacteria, and leftover product that block pores and dull shine.
Residue control is comfort control because buildup affects both surface and feel. Every pass of a dirty brush adds micro-irritation that you might blame on skincare.
The good news is that hygiene habits grow naturally once you make the ladder steps predictable. Begin by understanding where buildup hides and what true cleaning looks like.
Where Buildup Hides On Brushes, Sponges, And Hair Tools
Buildup hides deeper than visible powder or lint. Under brush ferrules, sponge pores, and hairbrush bases, trapped oils and humidity breed bacteria. Even clean-looking tools can carry invisible residue that disrupts product texture.
Hidden buildup breaks down fibers faster, shortening a tool’s lifespan. Pay attention to how brushes smell or feel; a tacky or damp grip means residue inside. Spot cleaning only hides dirt until it resurfaces during use.
The Difference Between Clean-Looking And Truly Clean
A brush that looks clean may still carry layers of film that trap odor. Washing until the water runs clear isn’t enough if the fibers remain slick. True cleanliness means no product scent and full drying with flexible bristles.
Water clarity is not proof of a complete wash. When tools feel slippery even after rinsing, the detergent has not reached the inner core. Once you learn that distinction, you know when cleaning really ends.
The Top Hygiene Mistakes Beginners Repeat
Beginners often soak tools for too long, rush the drying, or forget the disinfection timing. These actions create new problems while trying to fix old ones.
Leaving brushes in standing water loosens glue; drying upright collects moisture in the base. Using harsh soap dehydrates natural fibers.
Over-cleaning with the wrong products is still neglected because it damages what you intend to save. The goal is steady care, not overreaction.
Remove Residue Before It Hardens
Residue removal before washing makes every following step easier. Hardened product resists water and traps dirt deeper inside fibers.

A quick pre-clean takes seconds but prevents hours of deep scrubbing later. Focus on visible film and trapped hair each day.
Daily dry removal is prevention, not deep cleaning. Use gentle wipes and combs meant for tools, not paper towels that snag or scratch.
Hairbrushes And Combs: The Fast De-Hair And Wipe Method
Every night, pull out collected strands from brushes and combs with a pointed tail comb or a small cleaning rake. Wipe surfaces with a slightly damp cloth to lift residue. Avoid soaking wood or rubber bases, as swelling can shorten their lifespan.
If buildup forms near the handle, use a cotton swab dipped in gentle cleanser. Removing debris while it’s soft prevents a hard crust that can later trap odor and dust.
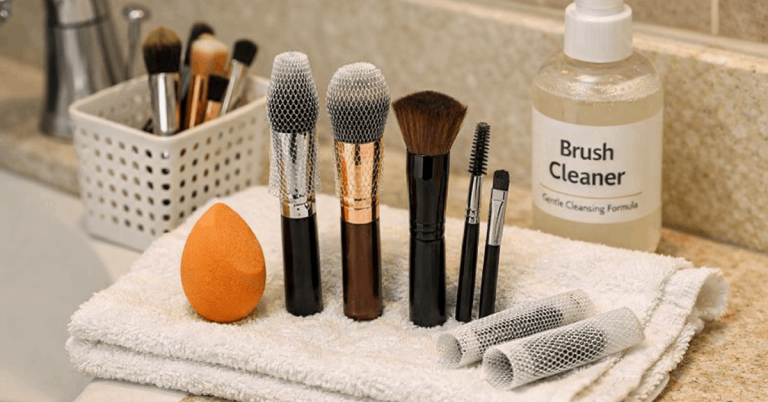
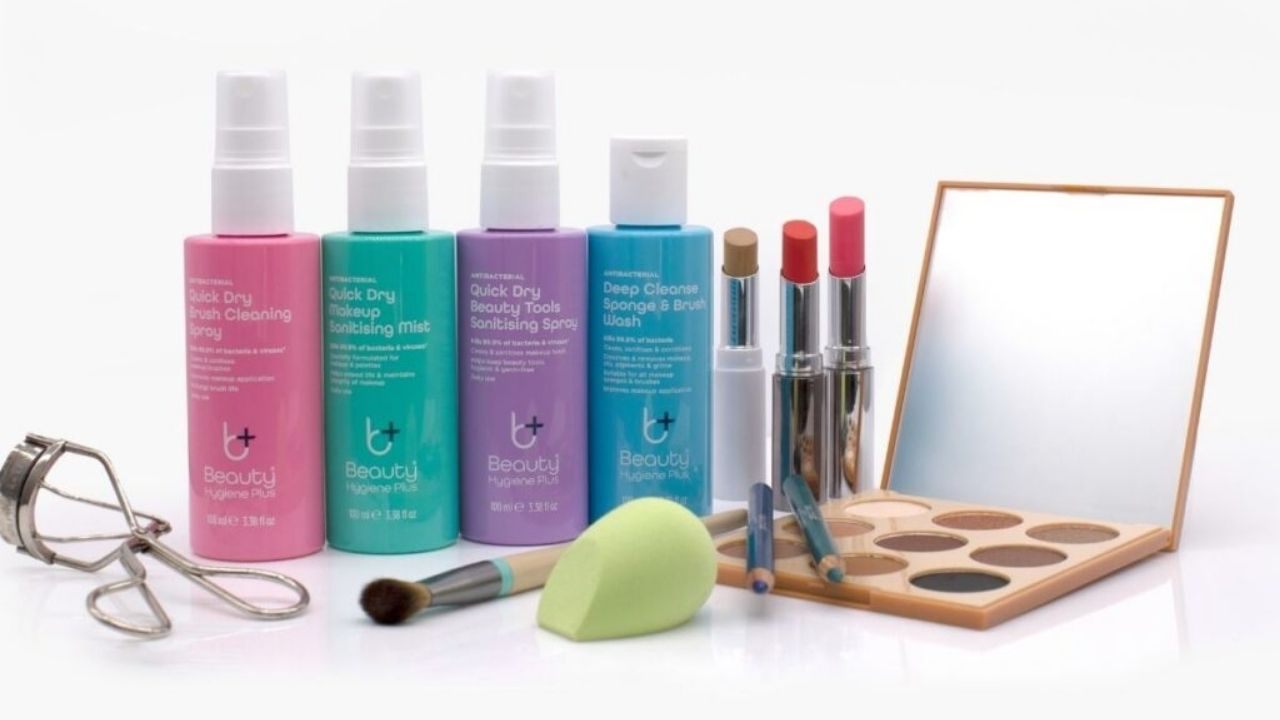
Makeup Brushes And Sponges: Pre-Rinse Rules That Prevent Damage
For makeup brushes, gently tap the bristles to release powder after every use. Lightly rinse under lukewarm water for liquid products, but avoid soaking. For sponges, squeeze under running water until the color lightens.
Do not twist or wring because that tears the structure. Gentle pre-rinsing keeps fibers elastic and lowers detergent time during full washing. It also reduces product waste since buildup does not cling overnight.
Quick Cleanser Example: Garnier Micellar Cleansing Water
Garnier Micellar Cleansing Water works well as a pre-clean wipe for handles and smooth surfaces. It removes oil residue fast without leaving a film. Apply a small amount to a cotton pad and wipe tool grips, mirrors, or metal surfaces.
Unlike alcohol, it will not dry out plastics or paint. Micellar technology breaks down surface grime without harsh rubbing, making it a safe daily shortcut before full cleaning.
Wash With The Right Cleanser And Water Rules
Washing should remove oil and dirt without breaking adhesives or fibers. Use warm, not hot, water, and keep handles out of direct soak.

Right washing builds longevity, not just cleanliness. The rule is to use gentle soap, minimal soaking, and clear rinsing.
Rinse until the water runs clean and squeeze out excess without twisting. Keep cleaning consistently weekly so dirt never compacts inside.
Brushes: Safe Soap Choices And Rinse Checkpoints
Use mild soap or specialized brush cleansers instead of dish liquid. Dish formulas strip oils too harshly and dry bristles. Massage the base gently, not the tips, to prevent shedding. Rinse under a steady flow rather than full submersion.
Blot excess moisture with a towel before laying flat to dry. Controlled washing protects glue joints that hold the brush together and ensures a smooth texture for next use.
Sponges: Clean Deep Without Twisting Or Tearing
Sponges require more patience because pigment seeps into pores. Apply cleanser directly and squeeze repeatedly under warm water. Keep squeezing until bubbles turn clear.
Do not claw at surface stains—they fade as moisture leaves. Deep cleaning means inner rinse, not outer scrubbing. Allow sponges to air dry fully in an open area before sealing them in containers, especially in humid climates.
Cleansing Product: beautyblender Blendercleanser Solid
beautyblender Blendercleanser Solid is designed for sponges and brushes. Its solid form controls how much product you use and keeps the texture gentle. Wet the tool, swirl on the cleanser, then rinse thoroughly.
The mild formula removes heavy foundation residue without scent. Solid cleansers give precision since they do not oversaturate bristles or loosen glue bonds. It is travel-friendly and lasts longer than liquid soap.
Disinfect Non-Porous Tools The Safe Way
Disinfection matters most for metal tools like tweezers, lash curlers, and nail cutters. These touch skin directly and hold microscopic debris that spreads bacteria.
Never disinfect porous tools because liquids seep inside and break the structure. Controlled disinfection is precision work, not full submersion. Keep a small setup ready so it feels routine rather than complicated. Always read concentration labels carefully.
Tweezers, Lash Curlers, And Nail Tools: What To Disinfect And When
Clean visible residue first before disinfecting. Wipe each tool with mild soap and rinse. Then soak in disinfectant solution for the recommended time, usually ten minutes.
Remove and air dry on a clean towel. Avoid mixing disinfectants since chemical reactions reduce strength. Disinfect only what needs it to prevent unnecessary wear or rusting on coated surfaces.
Correct Contact Time And Why It Matters
Contact time determines how well a disinfectant kills bacteria. Cutting it short makes the process almost useless. Exceeding it risks corrosion. Follow product instructions closely, especially with concentrated liquids.
If unsure, test on a small section first. Rinse tools after disinfection to remove residue. Precision timing equals safety, protecting both skin and metal quality for long-term use.
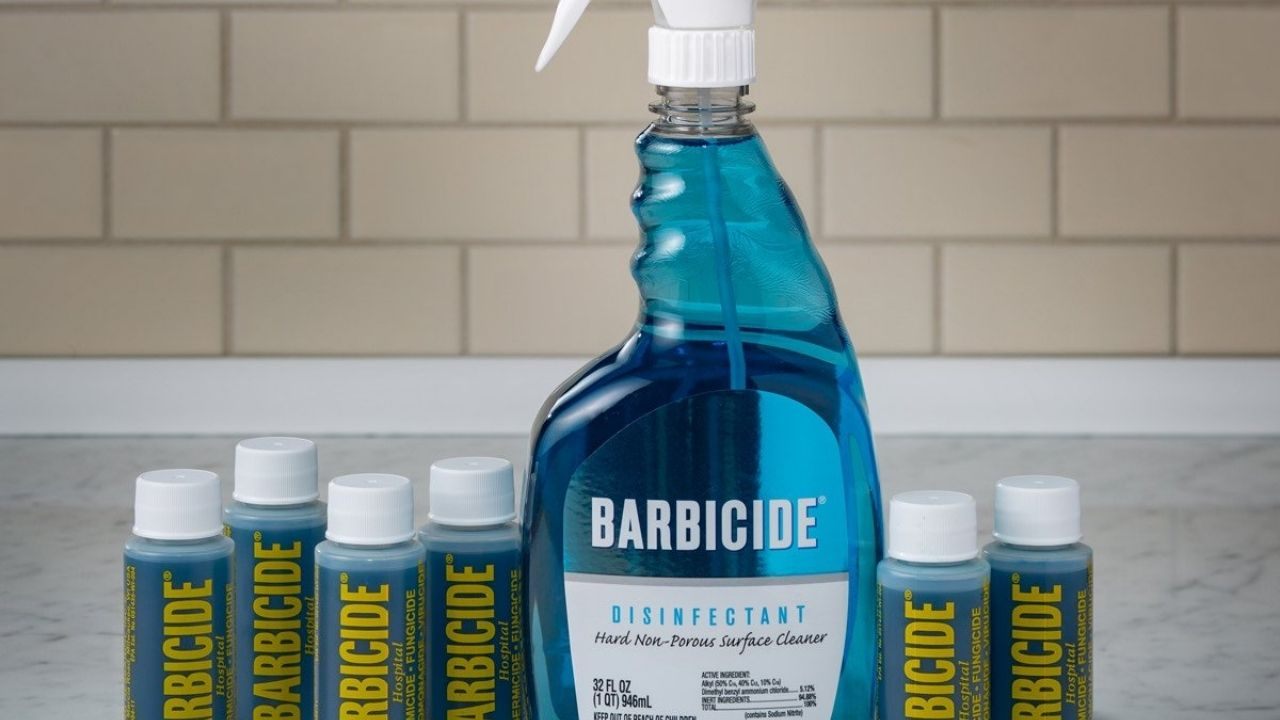
Disinfection Product: Barbicide Concentrate
Barbicide Concentrate remains the salon standard for metal tool hygiene. Mix it according to label directions, never stronger. Submerge tweezers and cutters only to the metal section, not the plastic handles.
Soak for ten minutes, rinse, then dry completely. Its blue tint shows strength, so discard when the color fades. Proper Barbicide use mirrors salon safety, keeping your home tools disinfected without harsh odor or surface damage.
Dry And Store To Prevent Re-Contamination
Drying and storage decide whether your cleaning effort lasts. Damp tools breed bacteria again within hours, undoing your work.
Airflow and separation are key. Keep clean tools away from direct sunlight and closed humid containers.
Dry tools are safe tools, so invest in storage that breathes. Rotate usage so each set rests between washes. Add digital reminders to make this routine automatic.
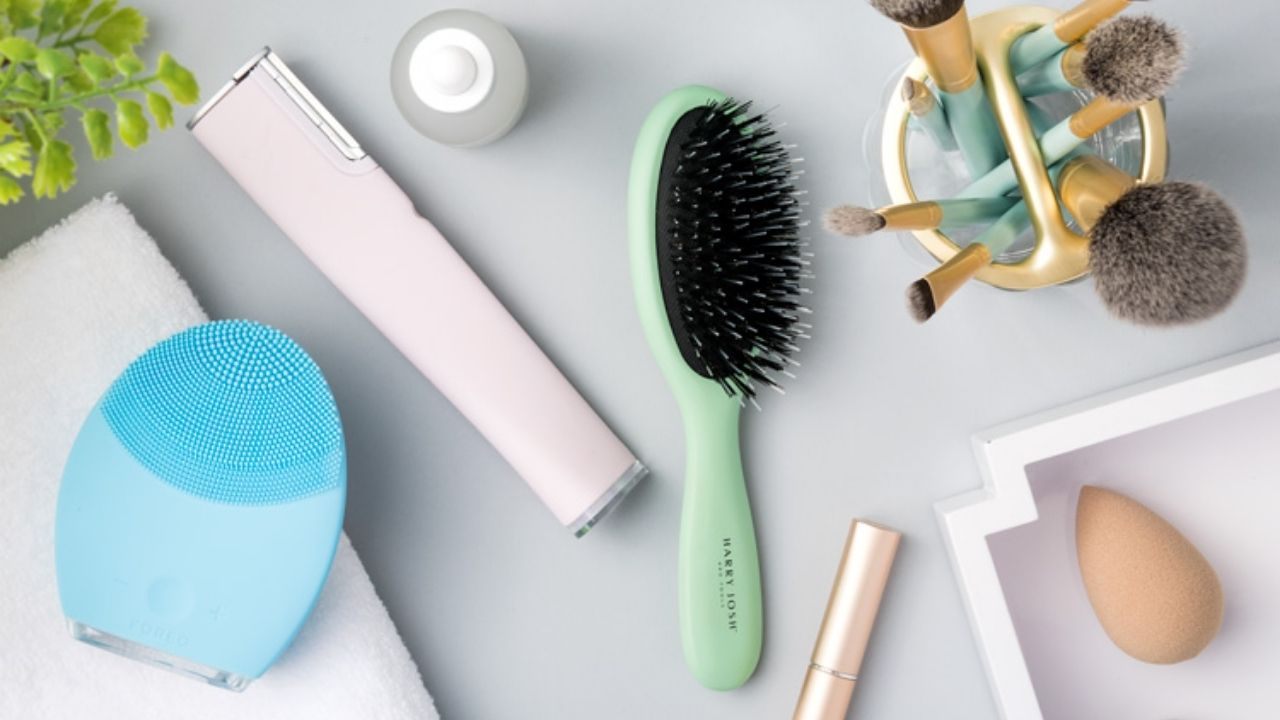
Airflow Rules: What Dries Flat Versus Upright
Brushes should dry flat so water does not seep into handles. Sponges dry best on open racks or mesh trays for airflow underneath. Metal tools can air dry upright on a towel. Avoid sealed jars or zip bags until fully dry.
The right orientation shortens drying time and keeps bristles in shape. Clean air also matters; avoid drying near cooking areas or steamy bathrooms.
Travel Storage Rules To Avoid Damp Tool Smell
When traveling, wrap tools in breathable pouches instead of plastic bags. Plastic traps moisture and encourages odor or mildew. Use mesh sleeves for brushes and vented cases for sponges.
Store disinfected metal tools in separate compartments to prevent scratches. Airflow beats compact packing when hygiene is a priority. After travel, always unpack and air out tools before reuse.
Microsoft To Do Reminders For Cleaning
Microsoft To Do helps make hygiene a habit. Set weekly reminders for brush washing and monthly alerts for disinfecting metal tools. The app syncs across devices so your list follows you.
Add quick notes on replacement dates or product refills. Digital tracking removes guesswork and keeps hygiene consistent without manual effort. Routine becomes effortless when reminders handle memory work.
Conclusion
Clean tools define the quality of your beauty routine. Learning how to keep beauty tools clean and safe prevents breakouts, breakage, and wasted product.
When hygiene becomes automatic, results improve, and tools last longer. Clean tools are comfort, safety, and confidence combined.