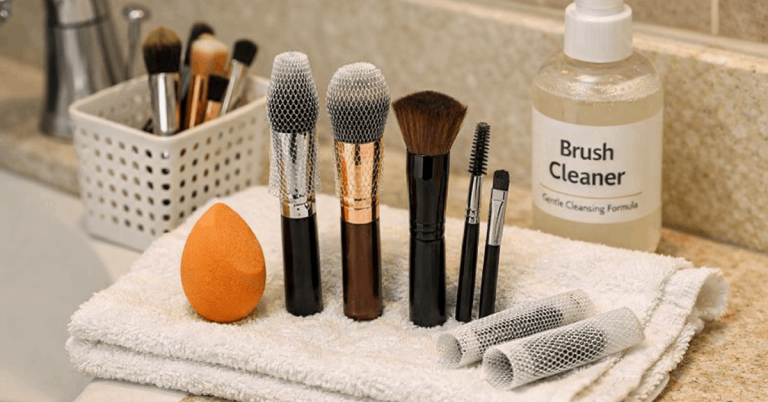
Natural makeup works when tools place less product, not cover every trace of texture. Aim for soft edges, even tone, and definition that still looks like you.
This guide covers dewy, satin, and soft-matte finishes with a lighter hand. It also includes color placement, clean tools, and a small everyday kit.
Choose the Finish Before You Build the Kit
Pick your finish before buying another brush or applicator. It guides tool density, blending pressure, and product amount.
- Dewy: press cream layers into the skin.
- Satin: correct only the needed areas.
- Soft matte: set shine without flattening the face.
Let the Finish Change How You Blend
Dewy makeup needs pressing that keeps creams flexible. Satin needs control around redness, under-eyes, and the nose.
Soft matte needs powder where shine breaks through. This protects natural dimension, skin texture, and your chosen finish.

Do Not Make One Dense Brush Do Everything
A dense brush can move makeup in patches. Over-buffing may exaggerate dry spots or push powder into pores.
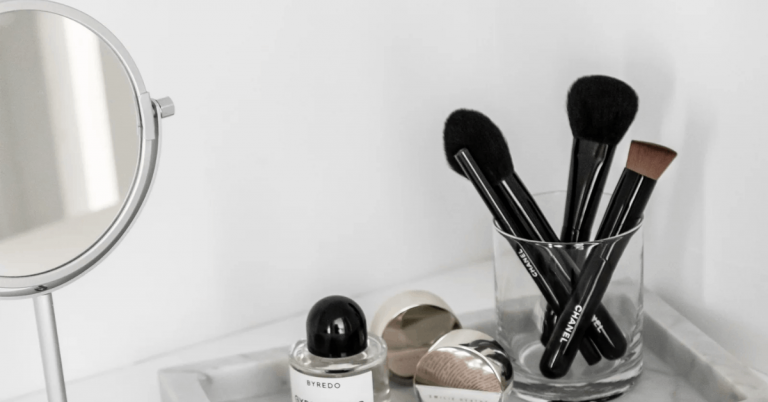
Keep one tool for placement and another for softening edges. That gives lighter layers, better control, and fewer corrections.
Build a Dewy Base With Pressing Motions
A dewy base should look fresh because layers are thin, not because the face is oily. Choose tools that protect real texture and natural glow.
Use a Sheer Base With a Damp Sponge
Use a BB cream, skin tint, or light foundation to even tone while keeping freckles visible. Apply a little at the face center and work outward.
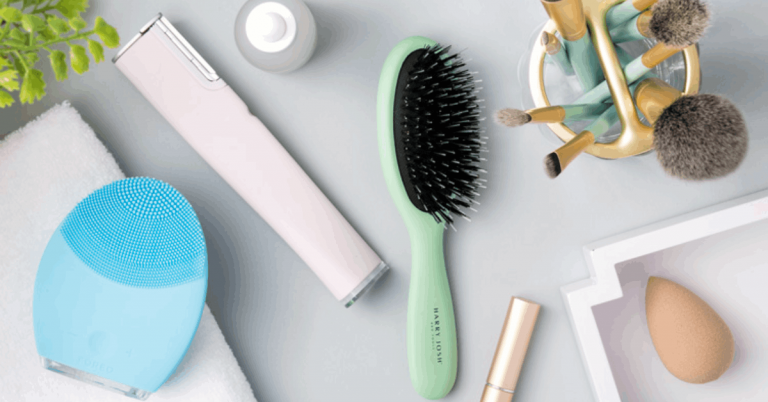
A damp Beautyblender Original makeup sponge is one latex-free option that bounces product into place without dragging dry areas. Spot-conceal afterward, so coverage stays targeted and the finish stays believable.

Keep Highlighter Small and Intentional
Treat balm highlighter as a small accent. Tap it onto cheekbones or brow bone, then blend with a fingertip. Skip the nose center if it gets oily. This creates soft lift, controlled sheen, and a glow that supports your skin.
Create a Satin Finish With Targeted Coverage
Satin makeup suits workdays, humid commutes, or photos because it sits between glow and powder. Keep coverage selective and the surface even, not overbuilt.
Correct Small Areas Without Covering Everything
Use serum-like concealer on redness, under-eye shadows, and nose corners. Let it settle, then tap edges with a small brush or fingertip. Do not spread it widely unless you need more coverage. This keeps tone balanced, texture visible, and your base comfortable through the afternoon.
Use a Fine Mist to Set the Layers
A fine-mist setting spray can help cream and powder layers settle without soaking the face. Hold it at arm’s length and use two quick passes instead of one heavy spray. Let the mist dry before touching skin or adding powder. This supports flexible makeup, a smooth surface, and natural-looking wear.
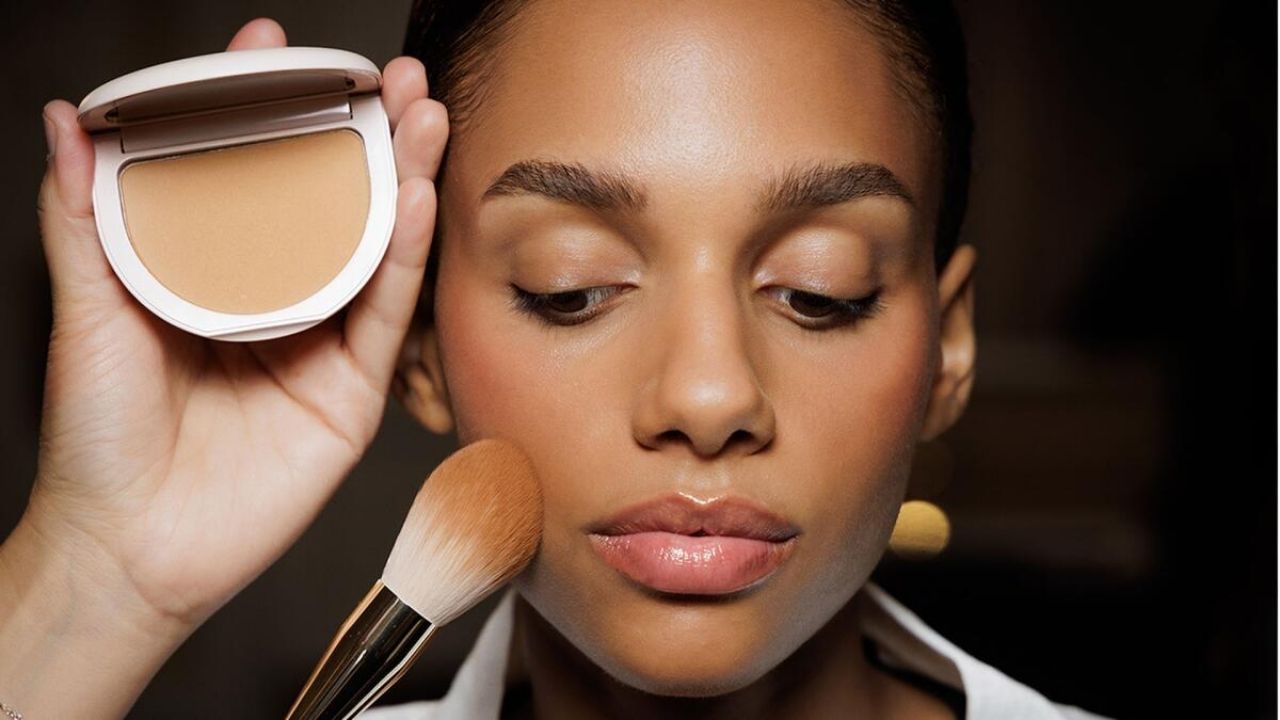 Image Source: Los Angeles Times
Keep Highlighter Small and Intentional
Treat balm highlighter as a small accent. Tap it onto cheekbones or brow bone, then blend with a fingertip. Skip the nose center if it gets oily. This creates soft lift, controlled sheen, and a glow that supports your skin.
Create a Satin Finish With Targeted Coverage
Satin makeup suits workdays, humid commutes, or photos because it sits between glow and powder. Keep coverage selective and the surface even, not overbuilt.
Correct Small Areas Without Covering Everything
Use serum-like concealer on redness, under-eye shadows, and nose corners. Let it settle, then tap edges with a small brush or fingertip.
Do not spread it widely unless you need more coverage. This keeps tone balanced, texture visible, and your base comfortable through the afternoon.
Use a Fine Mist to Set the Layers
A fine-mist setting spray can help cream and powder layers settle without soaking the face. Hold it at arm’s length and use two quick passes instead of one heavy spray.
Let the mist dry before touching skin or adding powder. This supports flexible makeup, a smooth surface, and natural-looking wear.
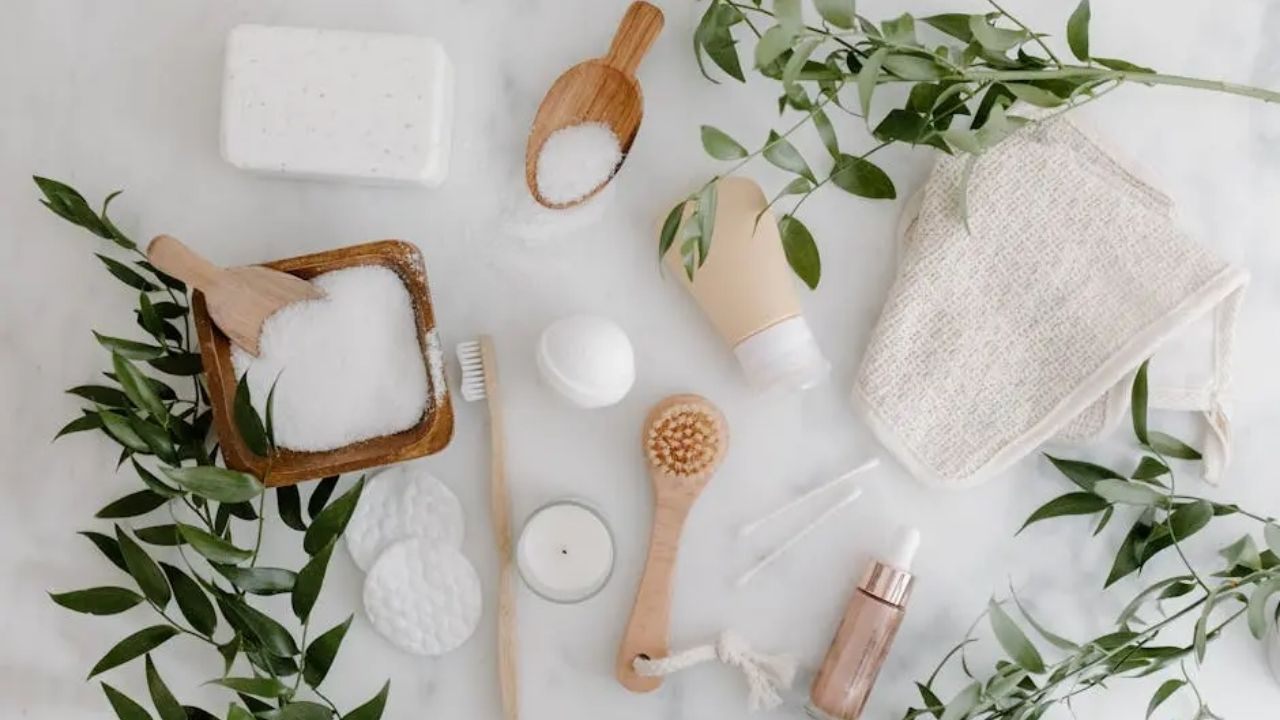
Keep Soft Matte Makeup From Looking Flat
Soft matte makeup can control shine while still letting the face look alive. Focus on thin preparation and localized setting instead of making every feature matte.
Smooth Shine-Prone Areas Before Your Base
Apply a lightweight blurring primer only where makeup separates, such as beside the nose, on the chin, or through the forehead.
Let it settle before applying skin tint, foundation, or concealer. If it pills, use less or reconsider what is underneath. A small amount supports cleaner texture, longer wear, and less need for powder.
Set Only the T-Zone With a Small Brush
A domed brush can press translucent powder onto the forehead, nose, and chin without dusting cheeks. Tap away extra powder, then press lightly rather than sweeping hard.
Leave cheekbones less powdered so they keep some reflection. This keeps oil control focused, the complexion dimensional, and soft matte makeup comfortable.
Keep Cheeks, Brows, and Lips in the Same Mood
Natural makeup looks cohesive when color follows the same soft direction as the base. Choose buildable pigment and gentle placement so nothing looks sharper than the skin around it.
Add Cheek Color and Groom Brows With Restraint
Choose a muted cream or cream-to-powder blush that resembles your after-walk color. Tap it high on the cheeks, then soften the edge with a clean brush or fingers.
Brush brows upward with a spoolie and fill only clear gaps with light strokes. These choices keep color believable, brows flexible, and the face balanced.
Choose a Lip Product That Does Not Need Perfect Edges
A tinted balm, oil, or sheer stain defines lips without a hard lipstick edge. Apply one thin layer, blot if needed, and clean the corners.
Shades near your natural lip tone work best with soft eyes and cheeks. This gives easy color, lower maintenance, and a finish that still feels like you.
Clean and Store Tools So the Result Stays Consistent
Natural makeup blends best when bristles and sponge pores are not full of old product. Keep clean surfaces and dry storage in mind so familiar tools stay comfortable.
Wash Product-Contact Tools Before They Drag
Rinse sponges after use when practical, then wash them and leave them in open air. Clean brushes weekly when you use creams or liquids, and remove powder after each session.
Replace a tool that stays stiff, loses shape, or creates streaks with formulas it once handled well. Regular washing protects smooth application, tool softness, and an even finish.
Also Read: Simple Skincare Routines That Actually Work
Give Every Tool a Simple Home
Store brushes upright only after they are dry, and keep sponges where air can reach them. Separate makeup tools from hair tools, especially around dry shampoo, hairspray, or oils.
A tray or divided pouch is enough when every item has a clear place. This reduces visual clutter, cross-contact residue, and rushed-morning mess.
Conclusion: Keep the Kit Small Enough to Use Well
Natural makeup tools should not turn your routine into a longer project. Choose one finish, use light pressure, and stop blending when an edge disappears.
Keep products targeted, clean applicators, and replace rough or worn pieces. A small, familiar kit makes everyday makeup polished, comfortable, and recognizably yours today.